TEK NET
The Henderson Amateur Radio Club is pleased to present our Tek Net every Sunday evening, starting at 8pm local time (0300 UTC).
The audio portion of the Tek Net will be found on the Henderson Amateur Radio Club Repeater Network (RF). The audio may also be accessed via Echolink (W7HEN-R node 740644) and Allstar (node 44045).
The audio will refer to this page, so that the listener can more fully understand the concepts as they are presented.
All are welcome!
August 14, 2022
Installing a radio with no dash space available
There is a multitude of radios now days from Icom, Kenwood and other manufacturers that have the capability to be remotely mounted in the trunk or under the seat.
Tonights discussion will be focused on an older commercial radio made by Motorola. This particular radio was used by law enforcement in pursuit vehicles in a disguised manner.
There was no indication ( by appearance) that it was a police vehicle.
Please understand that what I’m about to tell you is not written in stone.
I have over 40 years experience in the commercial two-way radio business and have installed several hundred two-way radios and mobile telephones (according to the MSS I worked at) and this is the way I decided to install this radio.
I didn’t see any room for a control head or dash mount radio, so the hand-held control head/microphone was my choice.
The radio is a Spectra series UHF 110 watt trunk mount radio with a Motorola W3 type of control head.
The control head is built into the microphone so that all the controls can be manipulated by the user with one hand.
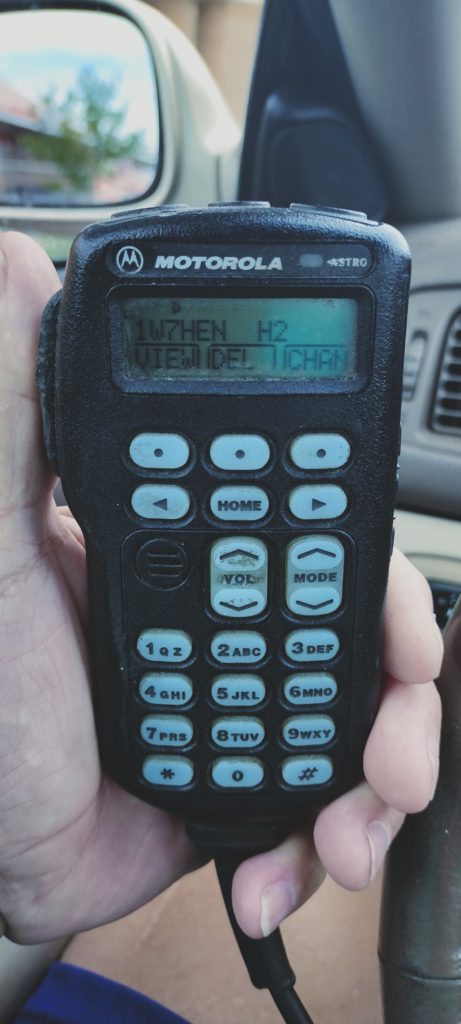
As seen above, there are three buttons on top, three on the right side and several on the front that can be assigned to a particular use.
for example: the top right button selects RF transmitter power between High (110 watts) or Low power (55 watts) cut down by 50%.
Top middle button selects Direct or “Talk-around” on the displayed channel.
Using the Motorola CPS programming software you can customize the control head functions to suit your needs.
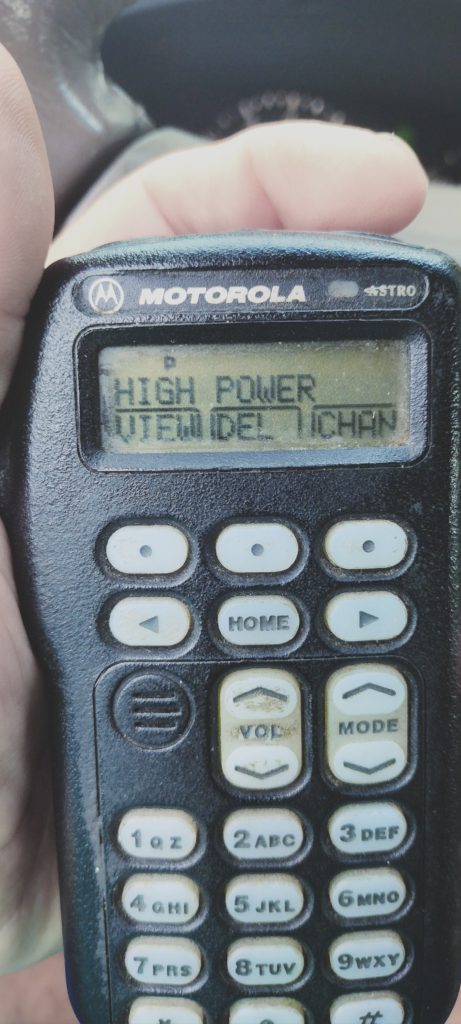
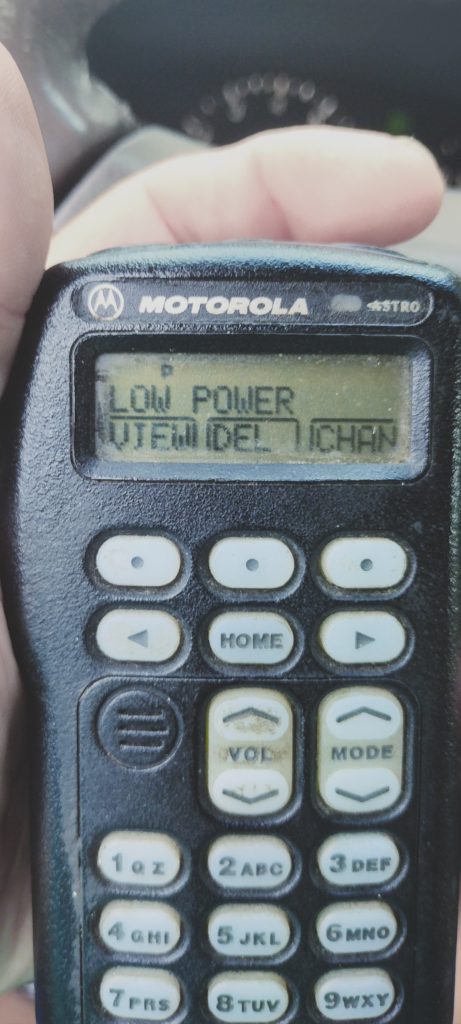
Enough about the radio and on to the installation steps.
First step, look over the vehicle and develope your plan to determine where you want to mount things or need to remove items, like the front seat and the rear bench seat, allowing you an unobstructed way to run the needed cables underneath the carpet safely so they won’t be damaged when you reinstall the seats.
With the seats removed, the carpet can easily be lifted up and cables run along the side of the compartment and not down the middle, where your feet pressing down on the cables could lead to premature wearing into the control cable or battery lead going to the radio in the trunk.
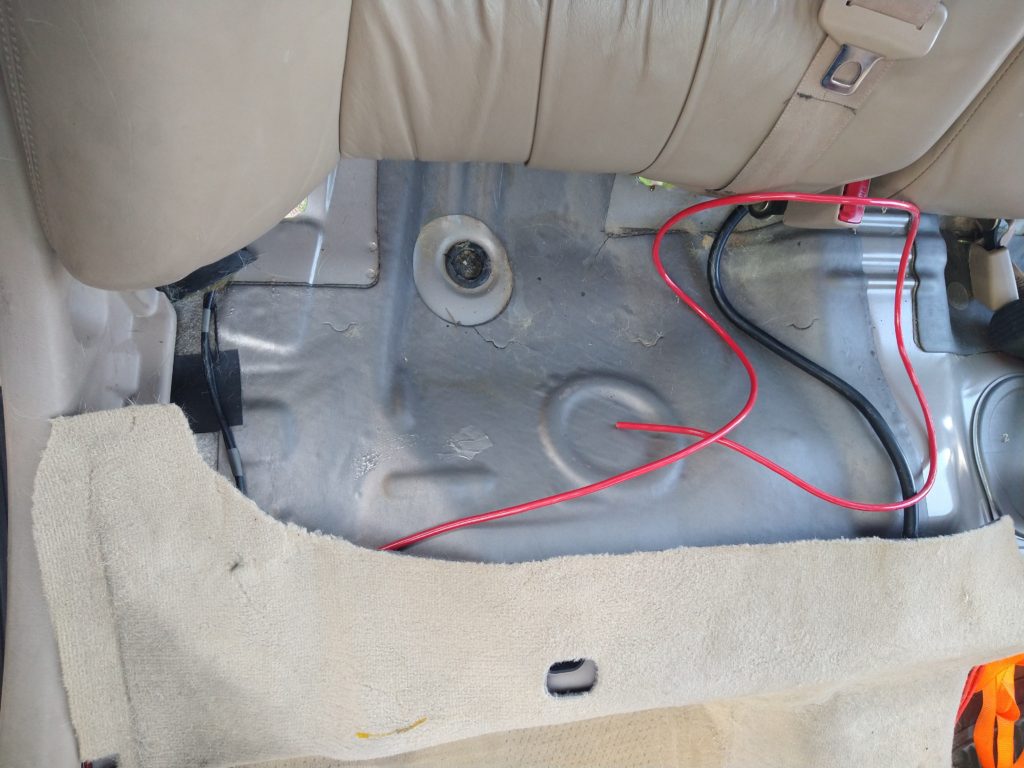
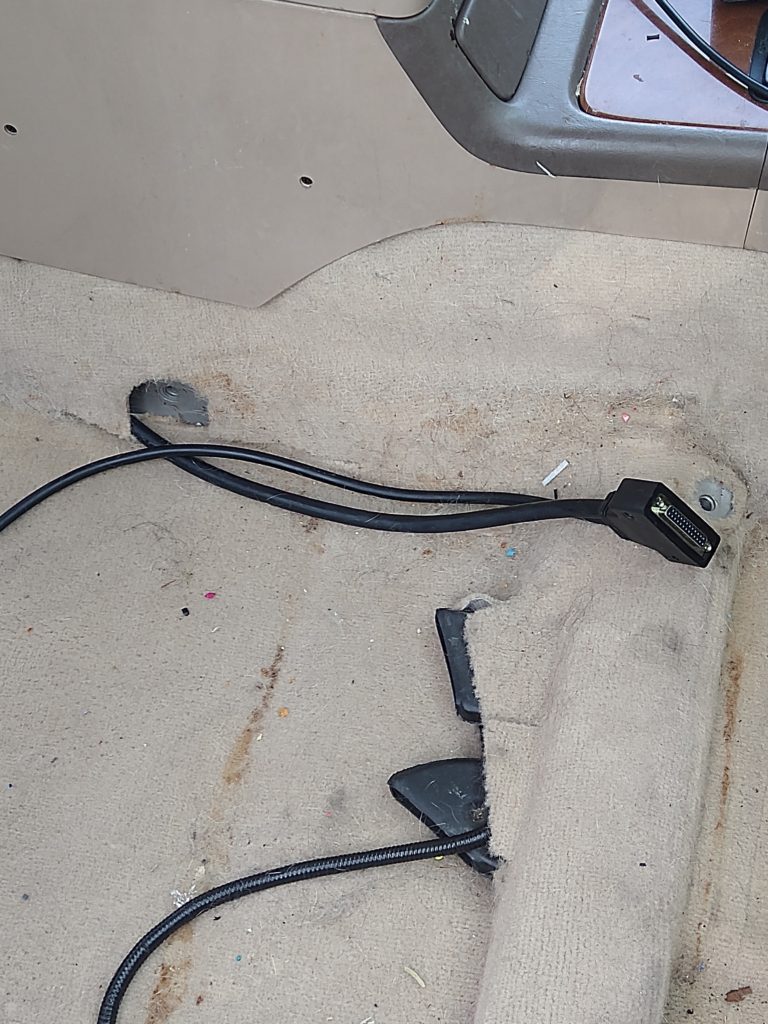
Above the rear bench seat was removed by taking out the two bolts holding it in place. On the right the passenger seat was removed by taking out the four corner bolts.
At this point because of the motorized seats, there was a couple of wiring connectors to unplug and lift the seat up and out of the way.
With the seats out of the way the carpet is loose enough to easily get your arm under it all the way to the very front under the dash.
Next was getting the battery cable thru the firewall for the electrical under the hood and connecting to the battery.
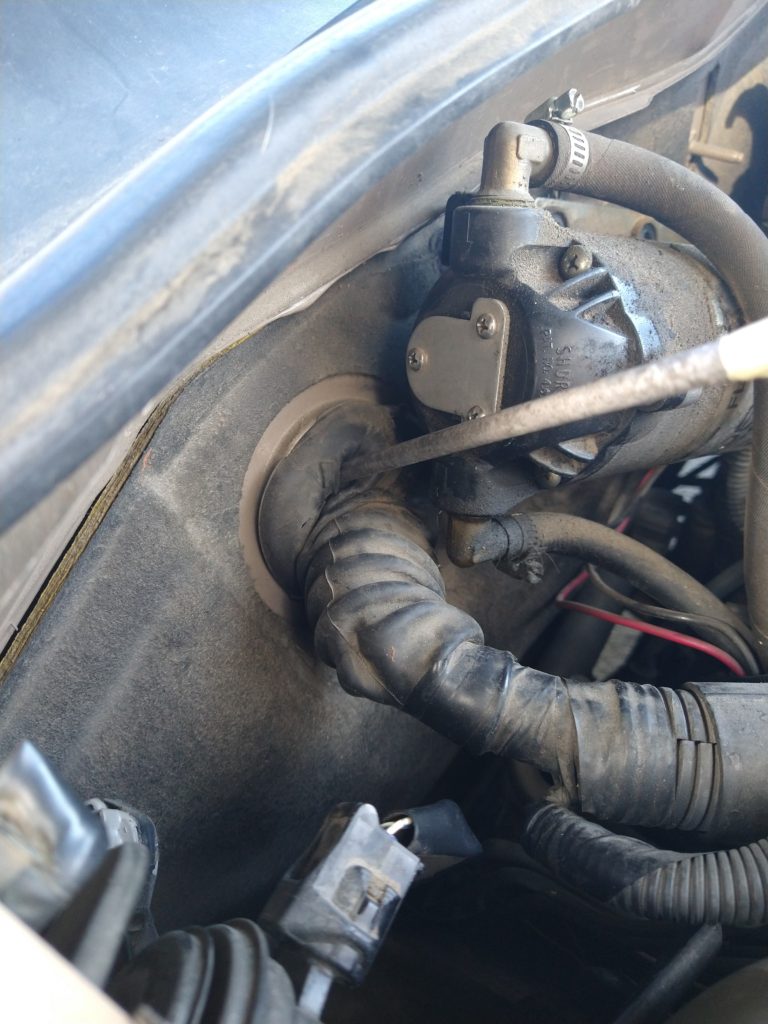
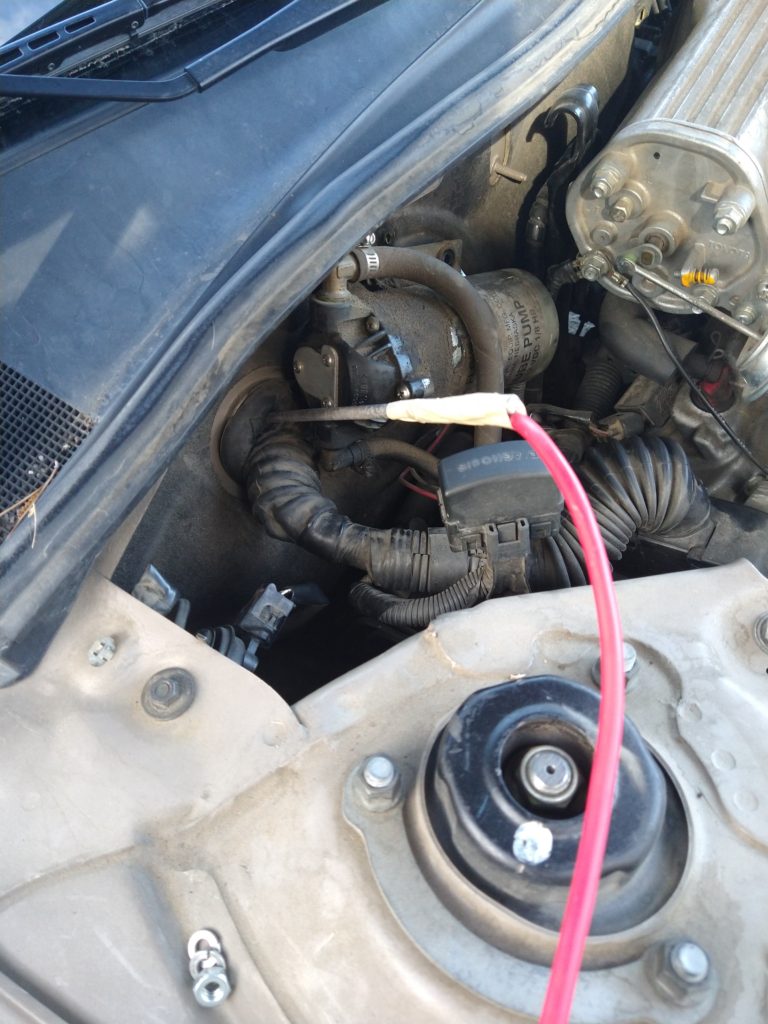
Experience has proven that it is best to take advantage of the vehicles installed wiring harness locations.
By doing it this way, it eliminates the danger of drilling a hole thru the firewall and damaging existing wiring cable bunches that cant be seen on the inside under the dash.
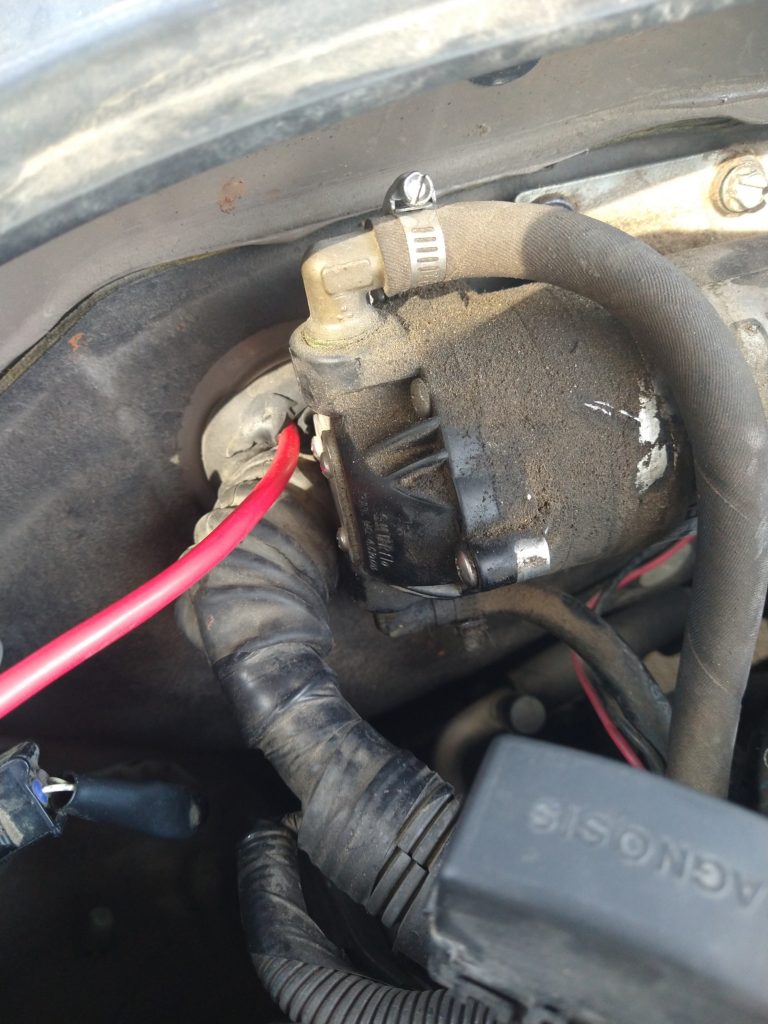
Here I have cut a small slit in the large rubber grommet that is bringing wires from the engine compartment into the vehicle under the dash.
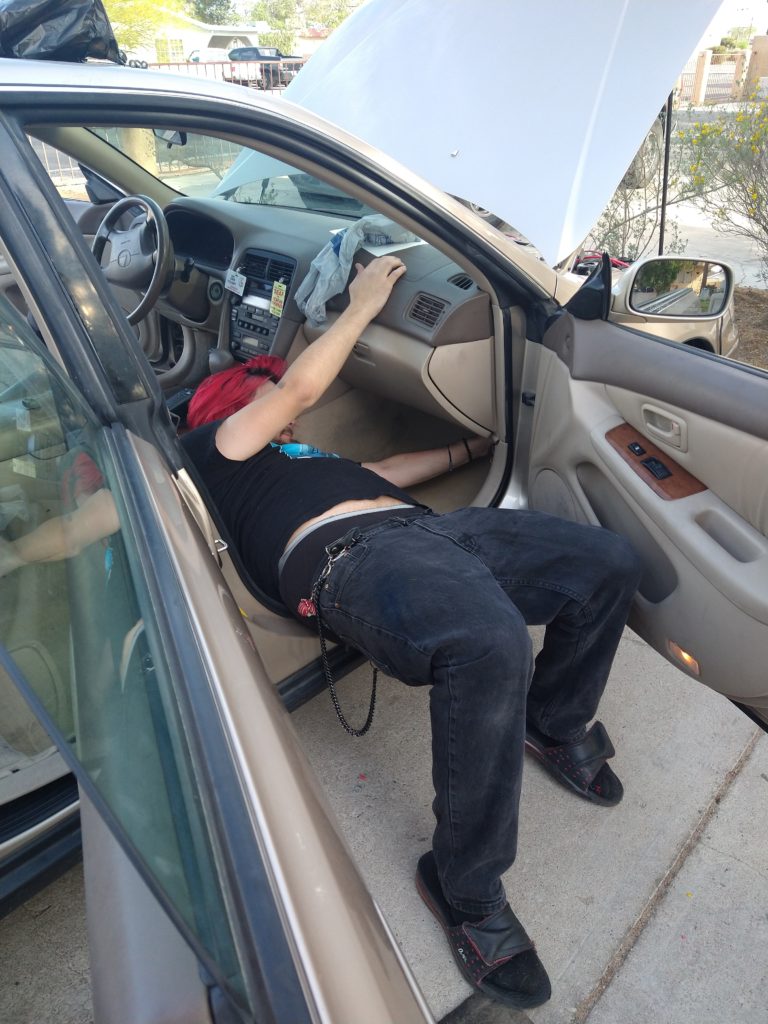
By using a 12 inch aluminum rod as a guide to pull the large gauge battery lead, I was able to move the rod around missing stuff under the dash until my helper saw it and brought the rest of the wire thru.
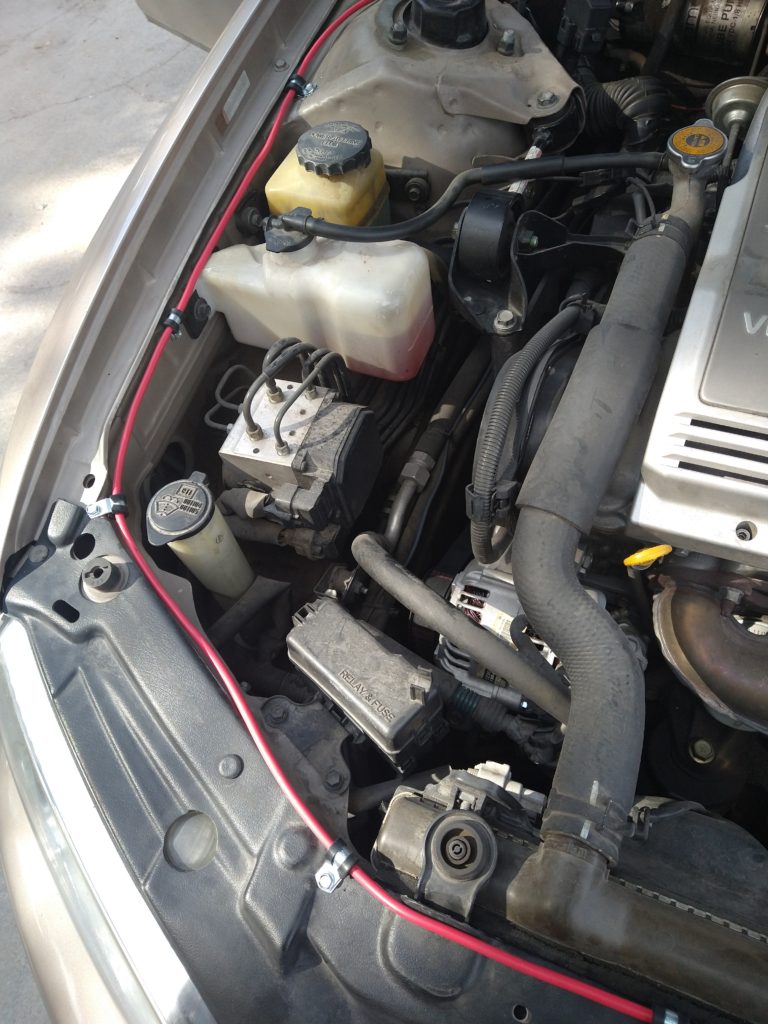
After that, I attached the battery lead to the metal chassis with wide head Tek screws. These rubber insulated metal clamps wouldn’t break after a period of time in the hot engine area like plastic cable clamps do.
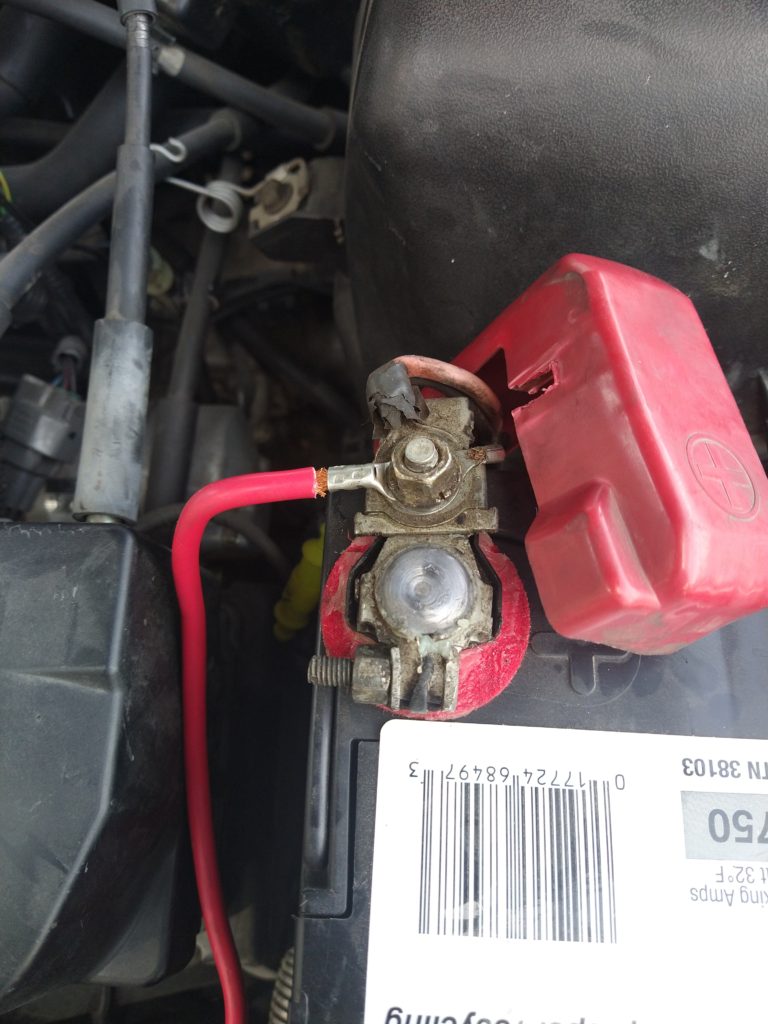
Care should always be taken when dealing with battery leads , just out of view is the 40Amp fuse holder mounted a few inches from the battery connection.
This radio has a “Y” cable exiting under the front seat. One connector is for the microphone connector and is mounted with screws to the transmission hump so as not to strain the connection as the microphone is pulled on during normal use.
The other cable has a 15-pin connector that has the wires for the external speaker and the ignition “on” wires for the receiver and the transmitter enable.
My preference is to use the ignition “On” function so that the radio comes ON & OFF with the keyswitch, eliminating a dead battery by accidently leaving the radio on and exiting the vehicle.
A handy spot to grab +12 volts when the car is on is at the cigar lighter inside the console compartment. The radio draws about 1 amp in the receive mode, so this is a convenient place to tap on to.
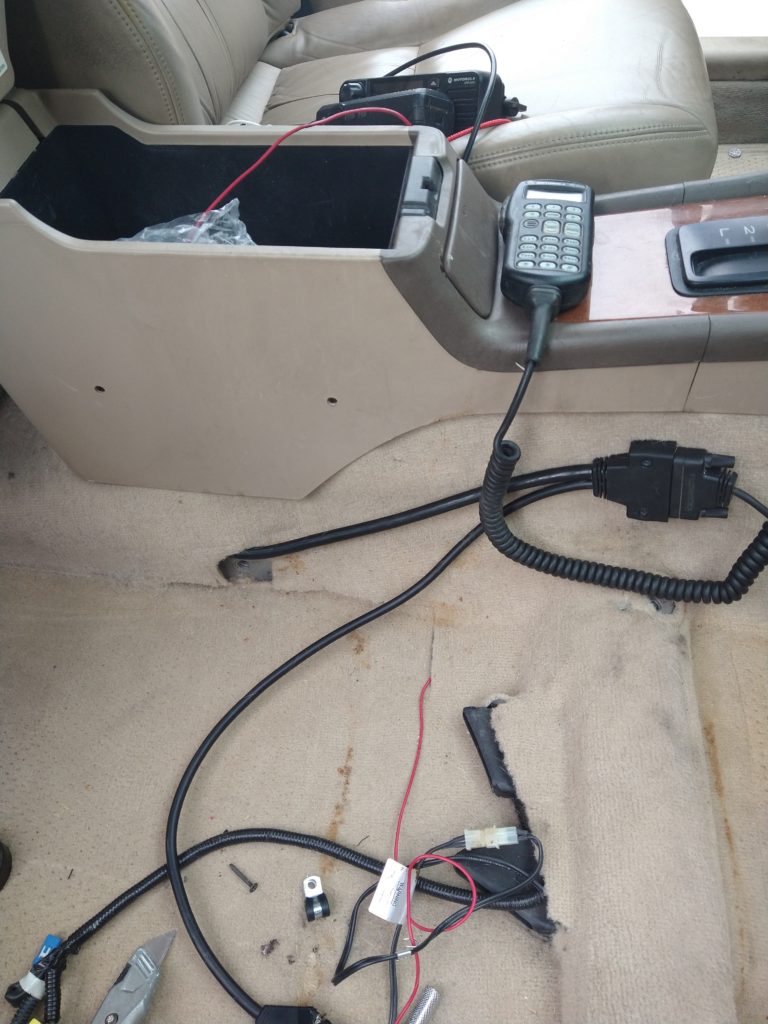
The opening in the carpet for the two black plastic air ducts was a perfect spot for the 15-pin accessory connector that has the speaker lead, getting pulled forward and to the speaker mounted on the passenger’s kick panel.
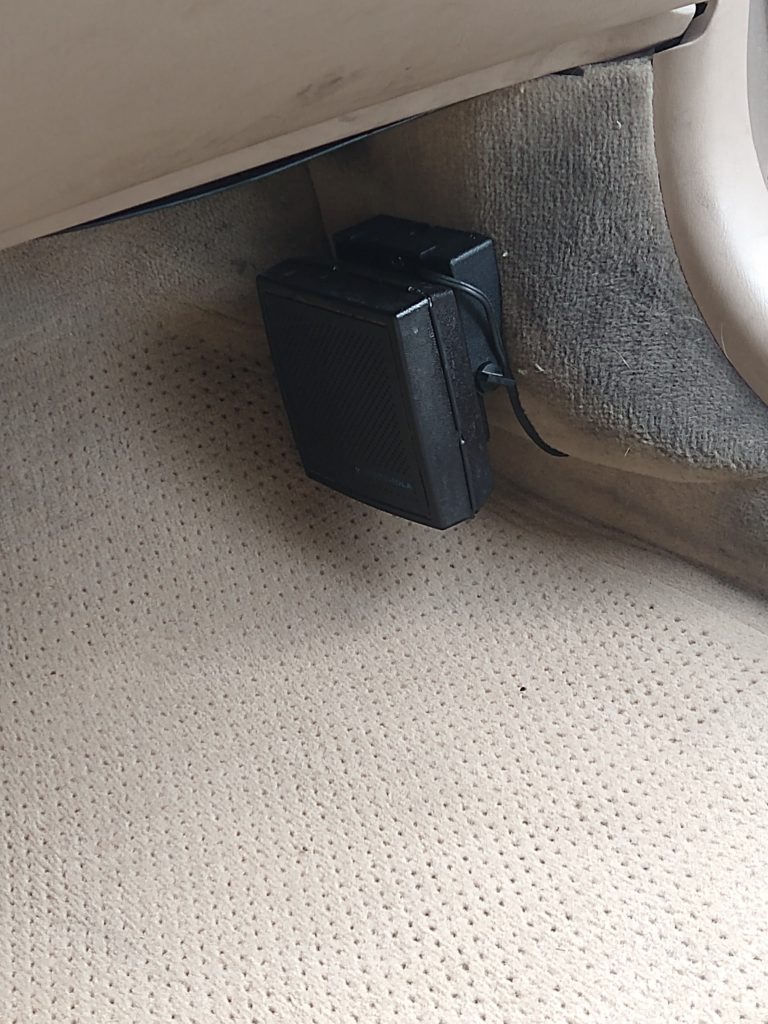
Here the speaker was originally mounted a bit low and was remounted up higher out of the way of people’s feet and the wiring coming out of the carpet at the top instead of out the bottom of the speaker.
This was my grandson’s first mobile install so he wasn’t looking at where folks feet would be.
Overall I still gave him a pass on a few things.
Last, but certainly not least is the trunk area.
By removing the carpeted covering, I found that there was two sheet metal supports that will make an excellent area to mount the radio package.
Also there is a thru hole area where a middle back seat can be opened up for items too long to fit in the trunk, allowing me an easy way to bring the control cable and the battery lead from under the rear bench seat into the trunk area.
Even without this opening, getting the cables from under the rear seat to trunk shouldn’t be a problem because normally there are openings in the back seat support.
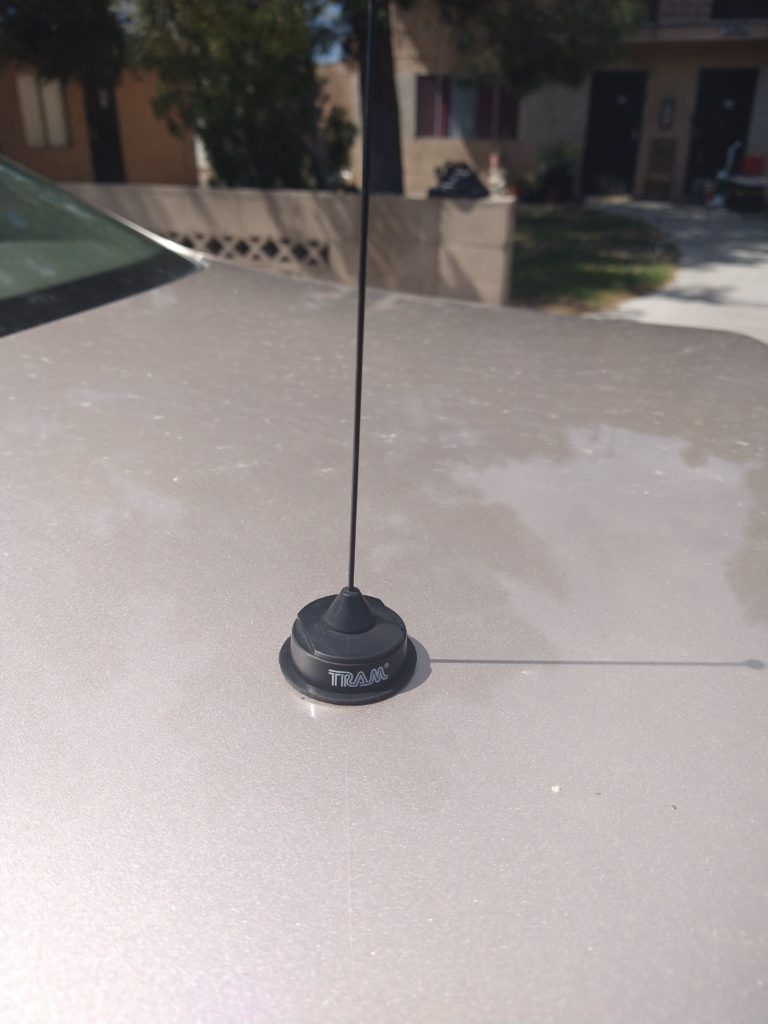
And my favorite part. . . . drilling a 3/4″ hole to mount the NMO antenna mount.
Due to the roof having an electric sunroof, I elected to mount the antenna on the trunk lid.
After the antenna is mounted, all thats left was to ty-rap (or Zip-ties) the antenna feedline out of the way and connected to the radio.
